What to Anticipate When Hiring a Roofing Contractor

When your roof starts to show signs of wear and tear, or in the event you’re planning a new construction project, hiring a roofing contractor is an essential part of the process. Roofing work is crucial, not only for the aesthetics of your home but additionally for making certain the structural integrity and protection of your property. Whether or not you are dealing with a roof repair or a complete replacement, it’s essential to know what to expect when hiring a roofing contractor.

1. Initial Session and Assessment

Step one in hiring a roofing contractor is to schedule an initial consultation. This is typically a free or low-cost service the place the contractor will come to your property to evaluate the condition of your roof. During this consultation, the contractor will examine the roof for any signs of damage, wear, or aging. They’ll additionally consider the structure of your property, the type of roofing materials already in place, and whether repairs or a full replacement is necessary.

The contractor will take measurements, evaluate the roof’s general health, and focus on your options. For example, in the event you’re dealing with leaks, the contractor may must assess the source of the problem, whether it’s a cracked shingle, improper set up, or something more significant. The more detailed the assessment, the better the contractor will be able to present you an accurate estimate and recommend one of the best answer for your roof.

2. Getting a Detailed Estimate

Once the contractor has assessed the roof, they will provide you with a detailed estimate. This estimate will define the scope of work, supplies wanted, and an total cost for the project. It’s essential that the estimate breaks down all costs concerned, including labor, materials, permits, and any additional fees. This will allow you to examine bids from other contractors if crucial and make sure you’re getting a fair price.

You must also inquire in regards to the warranty that comes with the roofing supplies and labor. A reputable contractor will stand behind their work and offer some form of warranty, which can range from a couple of years to a lifetime, depending on the materials used.

3. Researching and Verifying the Contractor

Once you have a couple of estimates, take the time to research and confirm the contractors. You’ll be able to ask for references or read on-line critiques to understand the experiences of different customers. A reputable roofing contractor ought to have a track record of successful projects, good customer support, and a professional attitude.

Additionally, be certain that the contractor is licensed and insured. This is essential for protecting both you and the contractor in case something goes improper during the project. A licensed contractor is typically required to observe local building codes and regulations, which helps guarantee the safety and quality of the work being done. Insurance coverage is crucial in case of accidents or damage during the project.

4. Material Choice and Project Scope

When you’ve chosen your contractor, they will work with you to choose the supplies that are proper for your roof. Depending on the type of roof you’re putting in or repairing, there are a number of materials options to consider, including asphalt shingles, metal roofing, clay tiles, and slate. Your contractor ought to guide you through the choice process, helping you make an informed choice primarily based on your budget, climate, and the aesthetic you’re aiming for.

In addition to choosing the materials, you’ll additionally want to agree on a clear timeline for the project. Roofing projects can range from a few days for simple repairs to several weeks for large replacements. Your contractor ought to provide you with a project timeline and keep you updated on any unexpected delays or points that arise.

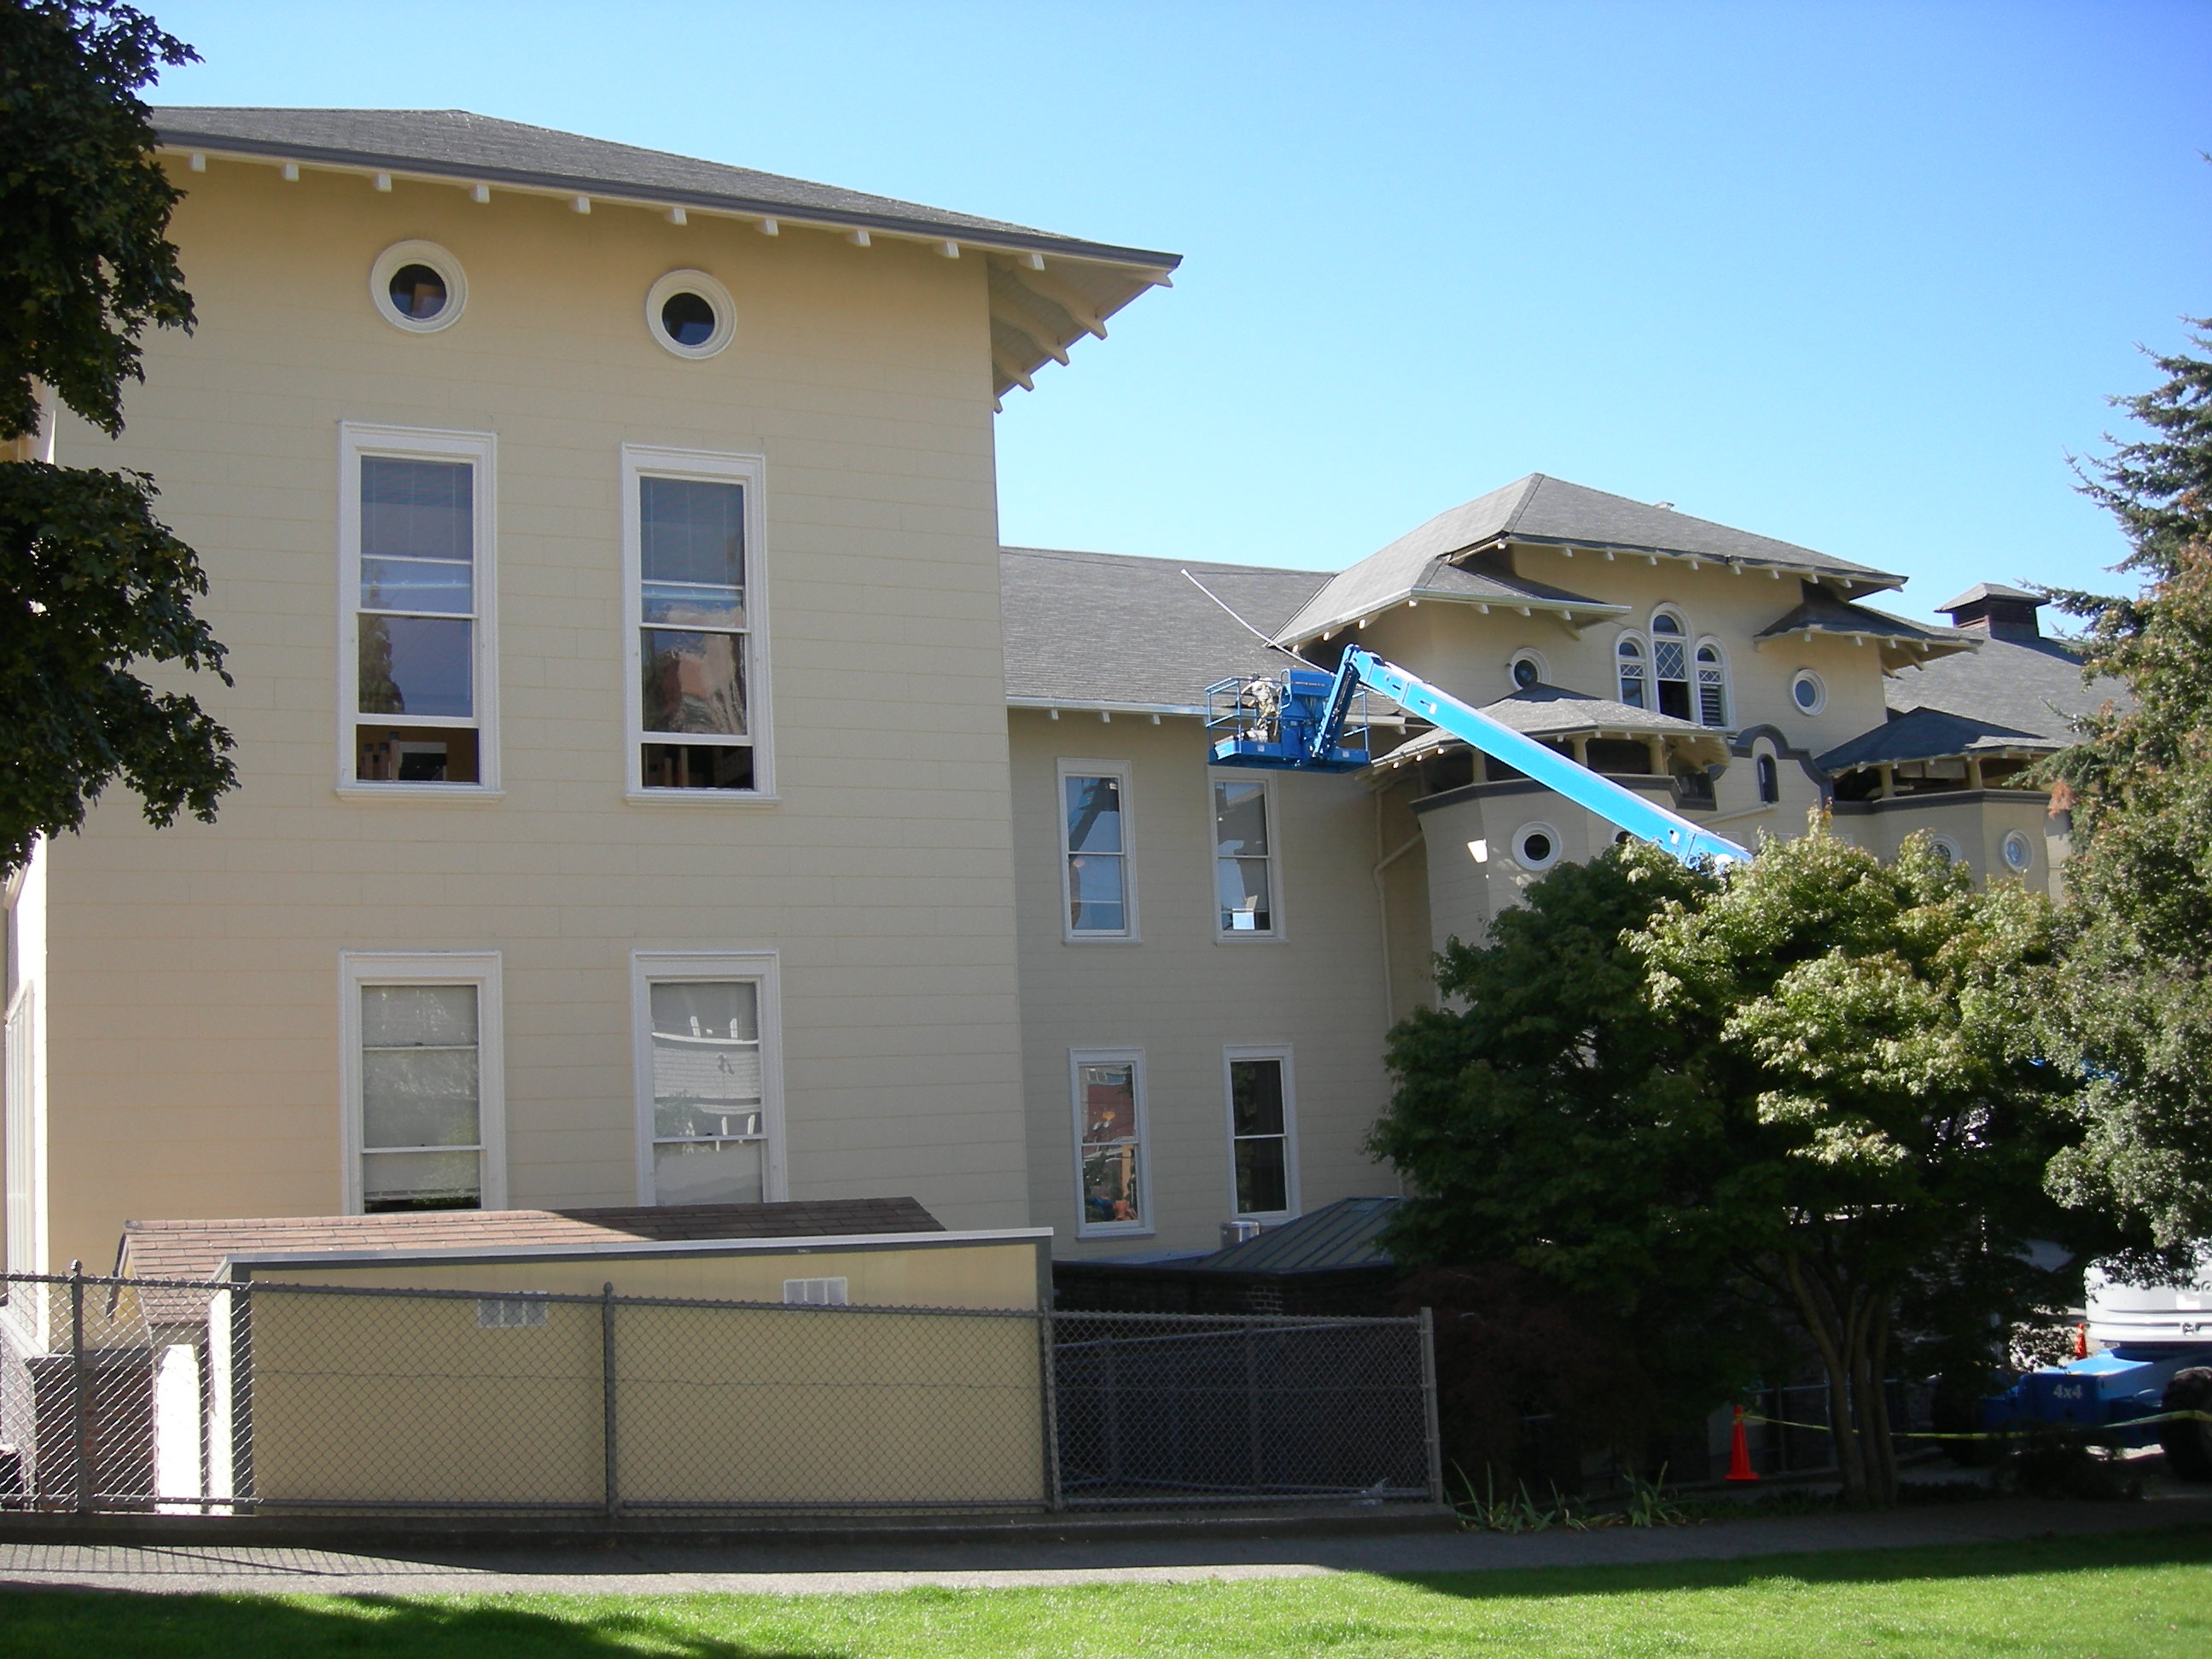
5. Project Execution

As soon as everything is in place, the roofing contractor will begin the work. Expect to see a crew of workers arrive at your property, geared up with the mandatory tools and materials. Through the project, the contractor will oversee the work to ensure it meets industry standards and follows the agreed-upon plan.

While roofing projects can be disruptive, the contractor should take steps to reduce the impact on your each day life. The work area must be properly secured to forestall accidents, and particles needs to be cleared commonly to keep your property safe.

6. Final Inspection and Cleanup

After the roofing project is accomplished, the contractor will conduct a final inspection to ensure that everything is in proper order. They will check the roof for any remaining points and ensure that the work meets each your expectations and trade standards.

Additionally, an excellent roofing contractor will ensure the worksite is cleaned up. This contains removing any particles, nails, and leftover materials. It’s best to walk through the finished project with the contractor to make sure you’re satisfied with the work and that no particulars were overlooked.

Conclusion

Hiring a roofing contractor can really feel like a daunting process, but with the precise preparation, it can be straightforward and stress-free. By researching contractors, understanding the scope of work, and setting clear expectations, you possibly can guarantee a profitable roofing project that will protect your property for years to come. Whether you are dealing with minor repairs or a major roof replacement, choosing a reliable, professional contractor is the key to a quality result.

Understanding the Roof Replacement Process: What to Count on

A roof replacement is among the most significant investments a homeowner can make, and the process can seem daunting in the event you’re not familiar with what to expect. Whether your roof has reached the end of its lifespan, sustained significant damage, otherwise you’re simply upgrading to a more energy-efficient model, understanding the steps concerned in a roof replacement may help you navigate the project with confidence. Here’s a comprehensive guide on what you can anticipate throughout the roof replacement process.

1. Initial Session and Inspection

Before any work begins, the first step is a consultation with a professional roofing contractor. This is where the contractor will assess the condition of your roof and determine whether or not a full replacement is critical or if repairs may be a better option. During this inspection, the contractor will inspect the roof’s construction, look for signs of damage, reminiscent of leaks or mold, and evaluate the condition of materials like shingles, underlayment, and flashing.

As soon as the inspection is complete, the contractor will provide an estimate for the replacement. This estimate ought to include costs for labor, materials, removal of the old roof, and any additional charges for permits or other considerations. Be sure to get multiple quotes from totally different roofing contractors to make sure you’re receiving a fair price.

2. Choosing Supplies

Selecting the best roofing supplies is a crucial determination when changing your roof. The type of material you select will impact the longevity, durability, energy efficiency, and overall aesthetics of your home. Common roofing materials embrace asphalt shingles, wood shakes, metal, clay or concrete tiles, and slate.

Your contractor will provide help to navigate the options based on factors such as your budget, climate, and desired appearance. Asphalt shingles are probably the most popular and affordable option, while metal roofs offer superior durability and energy efficiency. Tile roofs, however, are highly durable and provide a basic look but come with a higher value tag.

3. Preparing for the Project

As soon as you have chosen your roofing supplies and the contract is signed, the subsequent step is making ready for the installation. This typically entails clearing the area round your home to allow the contractors simple access to the roof. It’s a good idea to move vehicles, lawn furniture, or anything that could obstruct the workers’ path. You must also inform your neighbors in regards to the project to avoid any surprises.

The contractor will often take the necessary steps to protect landscaping, home windows, and different exterior features of your home. This may involve placing tarps or plywood to catch falling particles and prevent damage to your property.

4. Removing the Old Roof

On the day the work begins, the primary task will be to remove the old roofing materials. This could be a noisy and dusty process, as workers will tear off old shingles, underlayment, and typically even the roof decking if it’s damaged. If there are a number of layers of roofing material, the job could take longer.

Once the roof is stripped down, the contractor will inspect the decking for any signs of water damage or rot. If any damage is found, it will should be repaired before the new roof could be installed. This is an important part of the process, as it ensures that the new roof has a strong foundation.

5. Putting in the New Roof

With the old roofing materials removed, the following step is the installation of the new roof. This typically begins with laying down a layer of underlayment, which acts as a barrier between the roofing materials and the wood decking. Subsequent, flashing is installed round areas like chimneys, vents, and skylights to prevent leaks.

The contractor will then start laying down the shingles or different roofing materials. This step is carried out in a methodical manner, with every row of shingles overlapping the one below it to ensure proper water drainage and protection. For more advanced roofing systems, corresponding to metal or tile, the installation will comply with a slightly completely different process tailored to the fabric’s requirements.

6. Final Inspection and Cleanup

As soon as the new roof is put in, the contractor will conduct a final inspection to ensure everything is up to code and meets trade standards. This consists of checking for proper air flow, ensuring the shingles are securely in place, and confirming that flashing is accurately installed. The contractor may additionally perform a water test to verify the roof’s integrity.

Cleanup is an essential step in the roof replacement process. The contractor will remove any leftover particles, nails, and shingles from the job site. Some firms use a magnetic roller to collect any stray nails, ensuring no dangerous objects are left behind.

7. Post-Set up Care

After your new roof is in place, it’s essential to schedule regular upkeep and inspections. Roofs can last for decades, however they still require occasional attention. Many roofing contractors provide warranties on their supplies and workmanship, which may give you peace of mind knowing that any issues will be addressed.

Conclusion

Replacing a roof is a substantial undertaking, however with the correct preparation and an skilled contractor, it doesn’t need to be stressful. Understanding the roof replacement process—from initial consultation to the ultimate inspection—will help ensure the project goes smoothly and that you just end up with a durable, reliable roof that protects your house for years to come.

If you have virtually any inquiries with regards to where as well as the way to employ Commercial roofer, you are able to email us with our web-page.

Understanding Roof Warranties: What’s Covered After Your Roof Replacement

A roof is a significant investment, and understanding the warranty terms may also help protect you from future points and guarantee peace of mind. Roof warranties fluctuate widely depending on the materials used, the roofing company, and the precise conditions of the installation. To help you navigate this essential facet of roof replacement, let’s dive into what roof warranties typically cover, what exclusions might apply, and how you can make positive you’re totally covered.

Types of Roof Warranties

There are generally two types of warranties you’ll encounter with a roof replacement: manufacturer warranties and contractor warranties.

1. Producer Warranty: This warranty is provided by the corporate that makes the roofing materials, akin to shingles, tiles, or metal panels. Producer warranties typically cover defects within the materials themselves, which means that if the shingles or other materials had been to fail because of a producing defect, the producer will replace them at no cost to you. These warranties can range from 20 years to a lifetime, depending on the quality of the materials.

2. Contractor Warranty: This warranty is provided by the roofing contractor who installs the roof. It normally covers the workmanship of the roof installation, making certain that the roofing supplies are put in appropriately and in accordance with trade standards. The length of contractor warranties can vary, but they typically range from 1 to 10 years. If issues come up because of improper set up or mistakes made in the course of the roofing process, the contractor will address and fix them under this warranty.

What’s Typically Covered in a Roof Warranty?

1. Materials Defects: The most common type of coverage is for material defects. In case your roof’s shingles, tiles, or different materials are faulty and fail prematurely, the producer might cover the cost of changing the faulty materials. Some warranties are prorated, that means the coverage quantity decreases over time, while others supply full replacement during the initial years.

2. Workmanship: A contractor warranty will normally cover issues related to improper installation. This consists of problems like loose shingles, gaps, improper sealing, or leaks caused by errors throughout installation. If the contractor fails to install your roof according to manufacturer guidelines or industry standards, their warranty will typically ensure that the repairs are made at no further cost.

3. Leaks: If your roof starts leaking within the warranty period, it may be covered. This typically depends on whether the leak was caused by faulty supplies, poor workmanship, or another covered issue. Producer warranties usually cover leaks caused by faulty supplies, while contractor warranties cover leaks due to set up mistakes.

4. Replacement Costs: Some warranties, particularly those that come with premium materials, could cover the full cost of replacing damaged or defective roofing components. Be sure to check whether or not your producer or contractor warranty covers the labor concerned in changing the defective elements, as some only cover materials costs.

What’s Not Covered?

While roof warranties provide crucial protection, there are some essential exclusions to be aware of:

1. Weather Damage: Most warranties don’t cover damage caused by extreme climate conditions like hurricanes, hail, or heavy snow. In case your roof is damaged by a storm, your private homeowner’s insurance could be the primary source of coverage.

2. Poor Upkeep: Warranties usually exclude coverage for damage caused by neglect or lack of maintenance. Common inspections and proper care of your roof can help extend its lifespan and ensure that any points are detected earlier than they develop into major problems.

3. Improper Repairs or Modifications: In case your roof is repaired or modified by a third-party contractor or even by you, the warranty might change into void. Always use qualified professionals to make repairs to ensure that your warranty stays valid.

4. Pre-Existing Conditions: In case your roof replacement was carried out to address a pre-present challenge (e.g., mold or rot), those problems might not be covered under the warranty. Warranties generally do not cover issues that existed before the new roof was installed.

Methods to Guarantee Full Coverage

To make sure that you are absolutely protected under your roof’s warranty, listed below are a number of tips:

1. Read the Fine Print: Always thoroughly review your warranty contract to understand what’s covered and what’s not. Pay attention to any exclusions, conditions, or limitations.

2. Select a Reputable Contractor: Work with a licensed and experienced roofing contractor. The quality of their installation can make a significant distinction in whether or not or not your contractor warranty is valid.

3. Register Your Warranty: Some manufacturers require you to register your warranty after installation. Make certain to complete this step to make sure that you’re covered from day one.

4. Schedule Regular Inspections: Periodically have your roof inspected to catch potential points early. Regular maintenance helps preserve the legitimateity of your warranty and might prevent costly repairs down the road.

Conclusion

A roof replacement is an essential investment in your house’s protection, and understanding the small print of your warranty is critical. Both manufacturer and contractor warranties provide important safeguards, covering everything from material defects to workmanship issues. By familiarizing yourself with what’s covered and taking proactive steps to keep up your roof, you can protect your investment and enjoy peace of mind for years to come.

Understanding Roof Warranties: What’s Covered After Your Roof Replacement

A roof is a significant investment, and understanding the warranty terms may also help protect you from future points and guarantee peace of mind. Roof warranties differ widely depending on the supplies used, the roofing firm, and the particular conditions of the installation. To help you navigate this essential facet of roof replacement, let’s dive into what roof warranties typically cover, what exclusions may apply, and learn how to make sure you’re absolutely covered.

Types of Roof Warranties

There are generally two types of warranties you’ll encounter with a roof replacement: producer warranties and contractor warranties.

1. Manufacturer Warranty: This warranty is provided by the corporate that makes the roofing materials, such as shingles, tiles, or metal panels. Manufacturer warranties typically cover defects within the supplies themselves, which means that if the shingles or other materials were to fail as a consequence of a manufacturing defect, the producer will replace them at no cost to you. These warranties can range from 20 years to a lifetime, depending on the quality of the materials.

2. Contractor Warranty: This warranty is provided by the roofing contractor who installs the roof. It often covers the workmanship of the roof set up, making certain that the roofing materials are put in accurately and in accordance with industry standards. The length of contractor warranties can range, however they typically range from 1 to 10 years. If points come up because of improper set up or mistakes made in the course of the roofing process, the contractor will address and fix them under this warranty.

What’s Typically Covered in a Roof Warranty?

1. Materials Defects: The most typical type of coverage is for materials defects. If your roof’s shingles, tiles, or other supplies are defective and fail prematurely, the manufacturer may cover the cost of changing the defective materials. Some warranties are prorated, that means the coverage amount decreases over time, while others offer full replacement during the initial years.

2. Workmanship: A contractor warranty will usually cover points related to improper installation. This consists of problems like loose shingles, gaps, improper sealing, or leaks caused by errors throughout installation. If the contractor fails to install your roof according to manufacturer guidelines or industry standards, their warranty will typically make sure that the repairs are made at no further cost.

3. Leaks: In case your roof starts leaking within the warranty period, it could also be covered. This typically depends on whether or not the leak was caused by defective supplies, poor workmanship, or another covered issue. Producer warranties often cover leaks caused by defective materials, while contractor warranties cover leaks as a consequence of set up mistakes.

4. Replacement Costs: Some warranties, particularly those that come with premium supplies, could cover the total cost of replacing damaged or faulty roofing components. You should definitely check whether your manufacturer or contractor warranty covers the labor involved in replacing the faulty components, as some only cover material costs.

What’s Not Covered?

While roof warranties provide essential protection, there are some essential exclusions to be aware of:

1. Weather Damage: Most warranties do not cover damage caused by excessive weather conditions like hurricanes, hail, or heavy snow. If your roof is damaged by a storm, your own homeowner’s insurance may be the primary source of coverage.

2. Poor Maintenance: Warranties usually exclude coverage for damage caused by neglect or lack of maintenance. Regular inspections and proper care of your roof may help extend its lifespan and make sure that any points are detected before they become major problems.

3. Improper Repairs or Modifications: In case your roof is repaired or modified by a third-party contractor or even by you, the warranty might change into void. Always use certified professionals to make repairs to make sure that your warranty remains valid.

4. Pre-Existing Conditions: In case your roof replacement was accomplished to address a pre-current difficulty (e.g., mold or rot), these problems may not be covered under the warranty. Warranties generally do not cover issues that existed before the new roof was installed.

The right way to Ensure Full Coverage

To make sure that you are fully protected under your roof’s warranty, listed here are a few ideas:

1. Read the Fine Print: Always thoroughly assessment your warranty contract to understand what’s covered and what’s not. Pay attention to any exclusions, conditions, or limitations.

2. Select a Reputable Contractor: Work with a licensed and experienced roofing contractor. The quality of their installation can make a significant difference in whether or not your contractor warranty is valid.

3. Register Your Warranty: Some manufacturers require you to register your warranty after installation. Make certain to complete this step to ensure that you’re covered from day one.

4. Schedule Common Inspections: Periodically have your roof inspected to catch potential points early. Common upkeep helps protect the legitimateity of your warranty and may prevent costly repairs down the road.

Conclusion

A roof replacement is an essential investment in your house’s protection, and understanding the main points of your warranty is critical. Both producer and contractor warranties offer essential safeguards, covering everything from material defects to workmanship issues. By familiarizing your self with what’s covered and taking proactive steps to take care of your roof, you’ll be able to protect your investment and enjoy peace of mind for years to come.

12 Tips for Finding and Fixing Leaks In Your Roof

A well-ventilated attic can help prevent moisture buildup, which can lead to mold growth and roof damage. It can also help regulate the temperature in your home, which can reduce energy costs. Insulating your attic can also help regulate temperature and prevent damage from ice dams, which can form when snow and ice melt and refreeze on the roof.

In the event you loved this post and you would love to receive more info regarding click through the following website generously visit the web site.